Getting started: build a blog with rustango-cms
This walkthrough takes you from an empty directory to a working blog with an editor's admin: a page tree, two page types, a Markdown body stored in its own database table, and public pages served from templates you own. No database server to install — everything here runs on SQLite.
Time: about 20 minutes, most of it waiting for the first compile.
Runnable version: every step below produces the project in
examples/cms_demo. If something looks off, diff against it.
What you need first
| Tool | Why | Install |
|---|---|---|
| Rust 1.88+ | Compiler | https://rustup.rs |
A checkout of rustango-cms | The scaffolder, rcms | git clone https://github.com/ujeenet/rustango-cms |
The generated project gets rustango-cms and the rustango framework from crates.io; the checkout is only needed to run the scaffolder.
Check what you have:
rustc --version # should print 1.88 or newer
Step 1: Generate the project
The scaffolder is rcms: it generates a new site project. Run it straight from the repo:
cd ~/projects/rustango-cms
cargo run -p rcms-scaffold -- new myblog --dir ~/projects --template blog
--template blog gives you a home page plus an article type with a real Markdown body. (The other option, --template minimal, gives you the same two page types with no typed fields — useful when you want to design your own from scratch.)
It prints exactly what to run next:
Created rustango-cms project `myblog` (blog template) at /Users/you/projects/myblog

Next — SQLite, no database server needed:
  cd /Users/you/projects/myblog
  export DATABASE_URL="sqlite:./var/registry.db?mode=rwc"
  cargo run --no-default-features --features sqlite -- migrate-registry
  cargo run --no-default-features --features sqlite -- create-tenant demo \
      --mode database \
      --database-url "sqlite:./var/demo.db?mode=rwc" \
      --host-pattern demo.localhost
  cargo run --no-default-features --features sqlite -- create-superuser demo admin
  cargo run --no-default-features --features sqlite -- makemigrations   # emits cms_article_page
  cargo run --no-default-features --features sqlite -- migrate-tenants
  cargo run --no-default-features --features sqlite -- runserver
Here's what it wrote:
myblog/
├── Cargo.toml              # depends on rustango-cms + rustango
├── .env.example
├── .gitignore
├── README.md               # the same commands, kept for later
├── migrations/             # the CMS baseline — don't hand-edit these
├── src/
│   ├── main.rs             # wires the admin + public router together
│   └── models.rs           # your page types
└── templates/
    ├── _site.css.html      # starter styles, included by both templates
    ├── home_page.html
    └── article_page.html
Two files are yours to change; the rest you can mostly ignore at first. src/models.rs defines what kinds of page exist, and templates/ decides how they look.
Step 2: Set up the database
Everything from here runs inside the project:
cd ~/projects/myblog
export DATABASE_URL="sqlite:./var/registry.db?mode=rwc"
export RUSTANGO_SECRET_KEY="change-me-to-a-long-random-string"
RUSTANGO_SECRET_KEY encrypts the secrets the site stores, such as notification tokens. Without it, forms can't send email notifications. Use a long random value and keep it the same between restarts.
The first build takes a few minutes. Later commands reuse it.
Create the registry
rustango-cms is multi-tenant: one registry database knows about your sites, and each site gets its own storage. Even a single-site blog goes through this, so you can add a second site later without restructuring anything.
cargo run --no-default-features --features sqlite -- migrate-registry
registry: applied 1 migration(s)
  + 0001_create_rustango_audit_log_and_rustango_content_types_and_rustango_operators_etc
Create the site
SQLite has no schemas, so each site lives in its own file. That's what --mode database means; --host-pattern is the hostname that routes to it.
cargo run --no-default-features --features sqlite -- create-tenant demo \
    --mode database \
    --database-url "sqlite:./var/demo.db?mode=rwc" \
    --host-pattern demo.localhost
created tenant `demo` (id 1, mode database)
  applying tenant migrations…
  applied 4 migration(s)
    + 0002_create_rustango_admin_users_and_rustango_api_keys_and_rustango_audit_log_etc
    + 0001_cms_initial
    + 0002_page_builder
    + 0003_framework_snapshot_sync
create-tenant applies the site's migrations for you, so there's no separate step on a fresh install.
Create a user
Without this you'll reach a login page you can't get past.
cargo run --no-default-features --features sqlite -- create-superuser demo admin
It prompts for a password. Anything you'll remember is fine locally.
created user `admin` in tenant `demo` (id 1, superuser=true)
Generate your own migration
The two page types in src/models.rs are yours, not the CMS's — so their tables aren't in the shipped migrations. ArticlePage stores its body in a table called cms_article_page, and this is what creates it:
cargo run --no-default-features --features sqlite -- makemigrations
cargo run --no-default-features --features sqlite -- migrate-tenants
no changes for registry scope
wrote migrations/0004_create_cms_article_page.json (tenant scope)
    + CreateTable("cms_article_page")
    + CreateIndex { name: "cms_article_page_page_id_idx", ... }

ran tenant migrations against 1 tenant(s); 0 failure(s)
  ✓ demo: 1 migration(s)
Never write those JSON files by hand — makemigrations compares your models against the last snapshot and writes the difference. Run it again any time you change a model.
Step 3: Start the server
cargo run --no-default-features --features sqlite -- runserver
Leave it running and open http://demo.localhost:8080/login. The hostname matters: it's the --host-pattern from earlier, and that's how the server knows which site you're asking for. demo.localhost resolves to your own machine without any /etc/hosts editing.
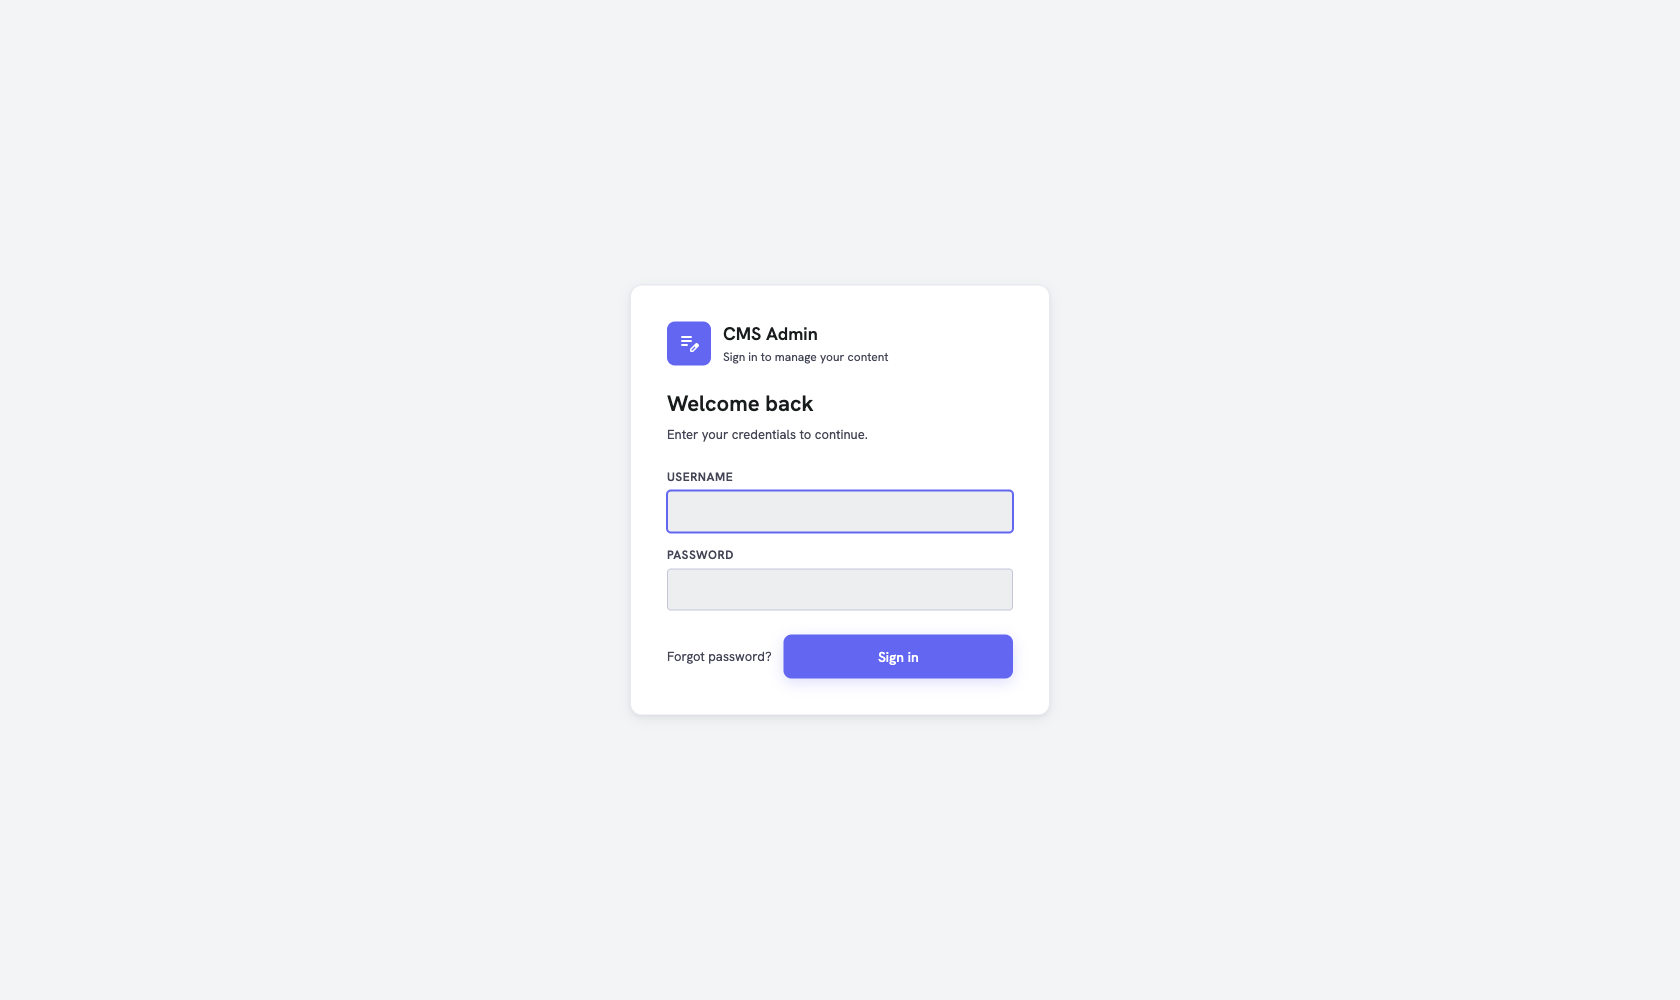
Sign in as admin with the password you chose. You land on the dashboard:
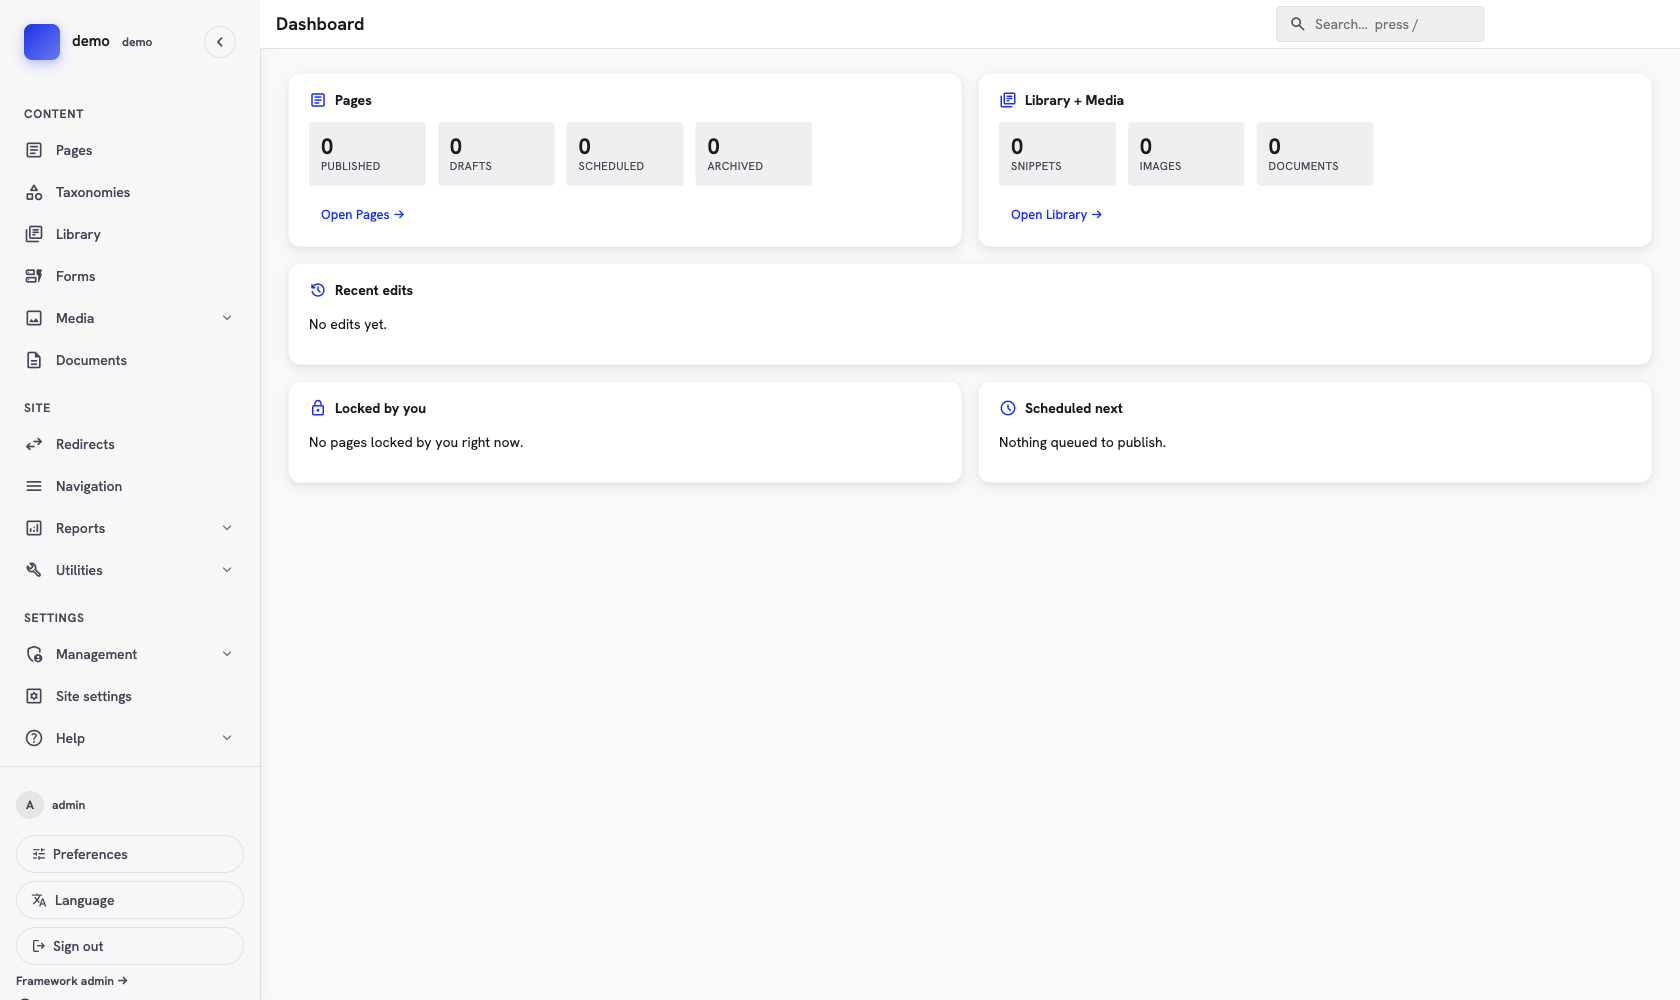
Everything is empty, which is right — you haven't made anything yet.
Step 4: Create the home page
Click Pages in the sidebar.
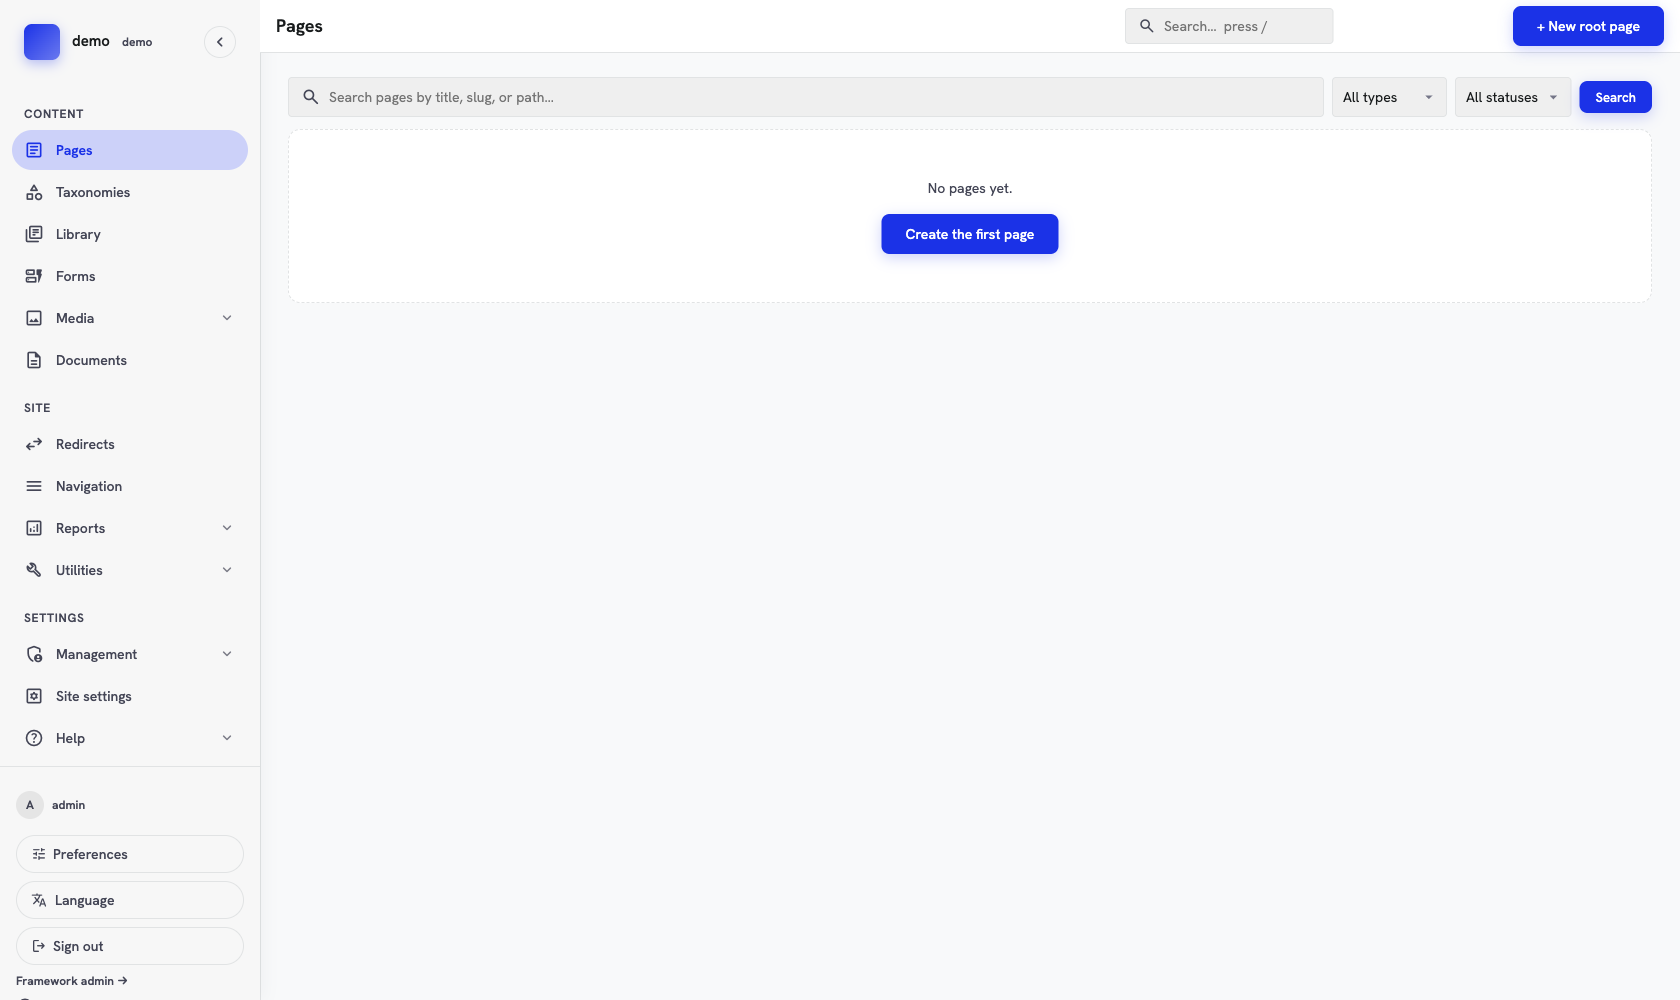
Choose Create the first page. The CMS asks which type of page you want:
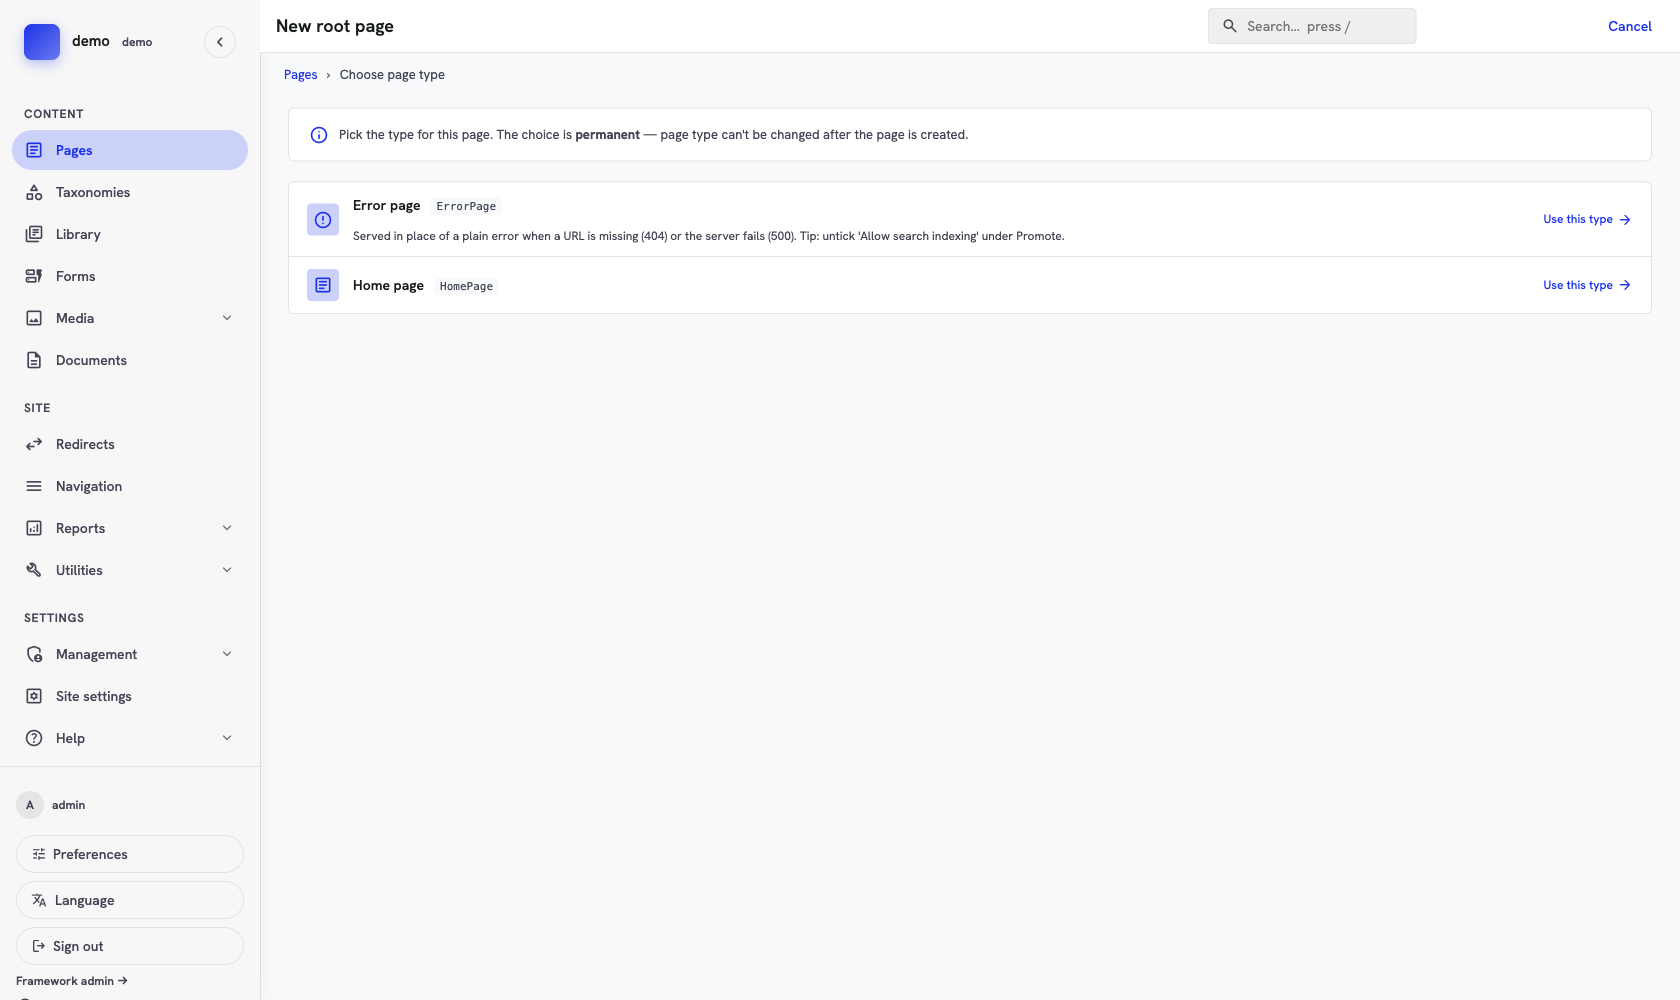
Only two types are offered, and "Article" isn't one of them. That's src/models.rs talking:
#[async_trait]
impl PageTypeHandler for ArticlePage {
    fn allowed_parent_types(&self) -> &'static [&'static str] {
        &["HomePage"]
    }
    // …
}
An article can only live under a home page, so the CMS won't offer it at the top of the tree. You get to state rules like that once and have the admin enforce them everywhere.
Pick Home page, title it My Blog, and set Status to Published. The slug fills itself in from the title.
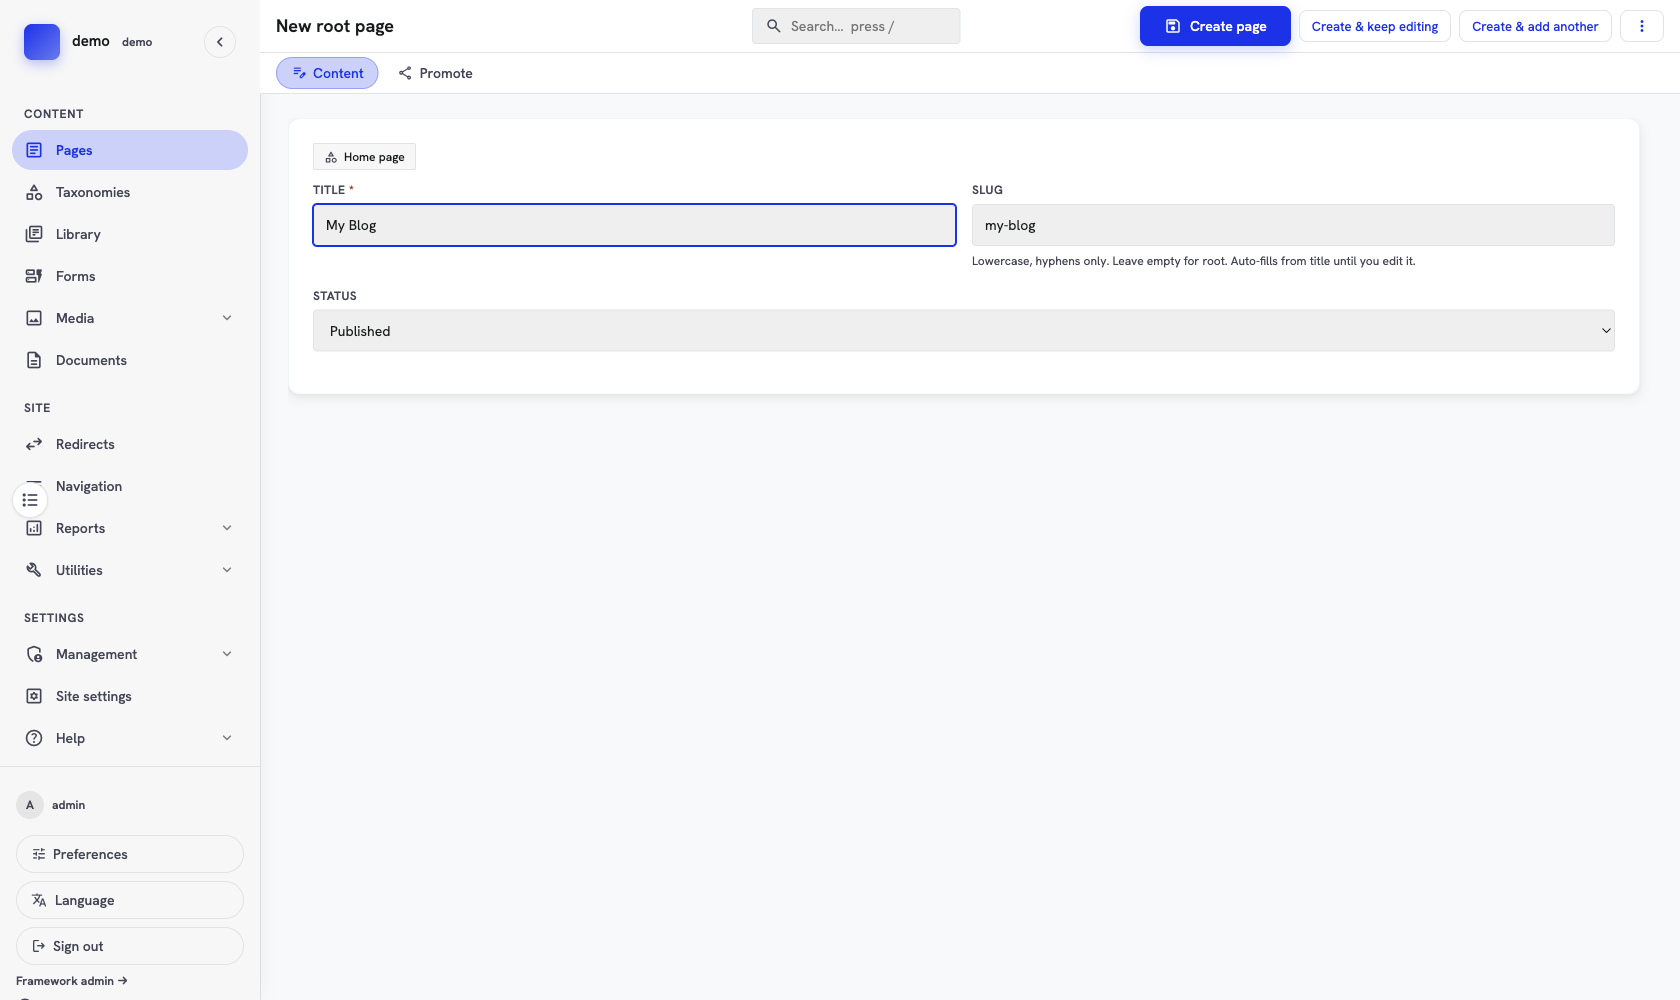
Click Create page.
The slug is what appears in the URL, so this page will be served at
/my-blog. Clear the slug entirely if you want a page at the site root instead — the help text under the field says so, but the auto-fill will have put something there already.
Step 5: Write an article
Open My Blog, then Add the first child. This time the type picker looks different:
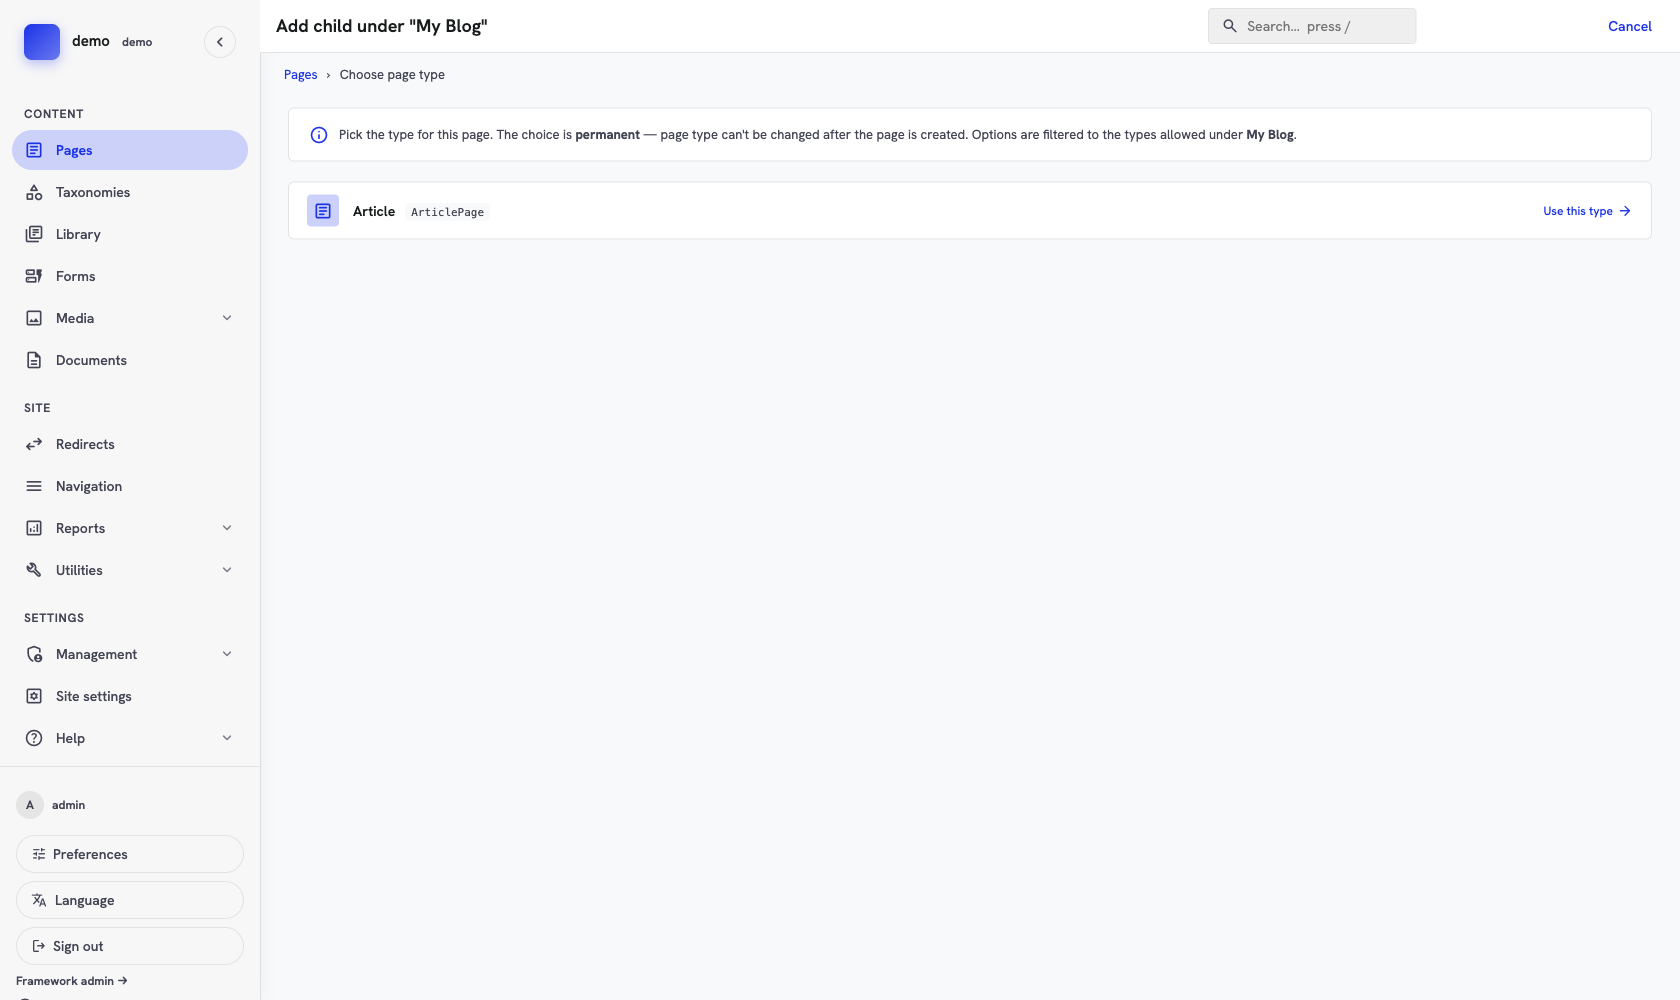
Only Article is offered — the same rule as before, seen from the other side. The banner spells out why: options are filtered by both the parent's allowed_child_types and the candidate's allowed_parent_types.
Pick Article, title it Hello, world, set Status to Published, and this time use Create & keep editing so you stay on the page.
Now the editor shows something the home page didn't: a Body (Markdown) field with a formatting toolbar, and a Hero image picker. Those come from ArticlePage's typed extension table — they're real columns, declared in src/models.rs:
#[derive(Model, Debug, Clone, Serialize, Deserialize)]
#[rustango(table = "cms_article_page", app = "site")]
pub struct ArticleBody {
    #[rustango(primary_key)]
    pub id: Auto<i64>,
    #[rustango(fk = "cms_page", on = "id", index, unique)]
    pub page_id: i64,
    #[rustango(max_length = 16000)]
    pub body_markdown: String,
    #[rustango(fk = "cms_media", on = "id")]
    pub hero_media_id: Option<i64>,
}
Type some Markdown into the body and press Save & keep editing. The preview pane on the right updates:
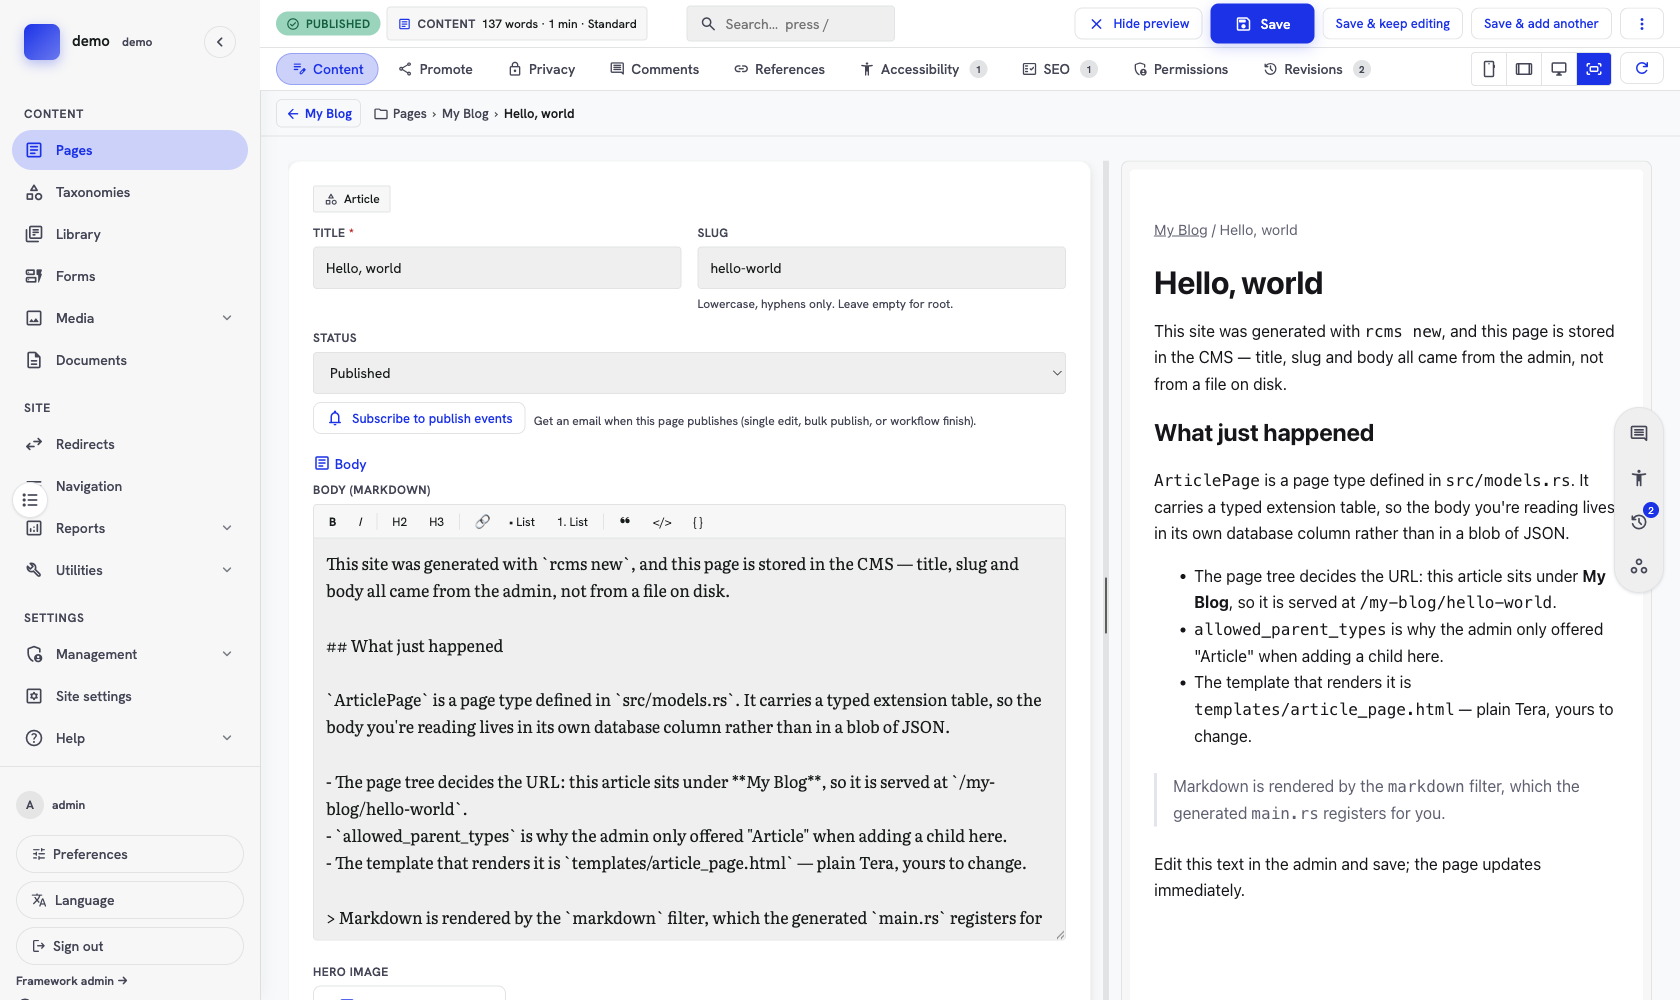
Extension fields only appear once the page exists — there's no page to attach them to before you've created it. That's why this step used Create & keep editing: create the page, then fill in the body.
Step 6: Look at the site
Open http://demo.localhost:8080/my-blog:
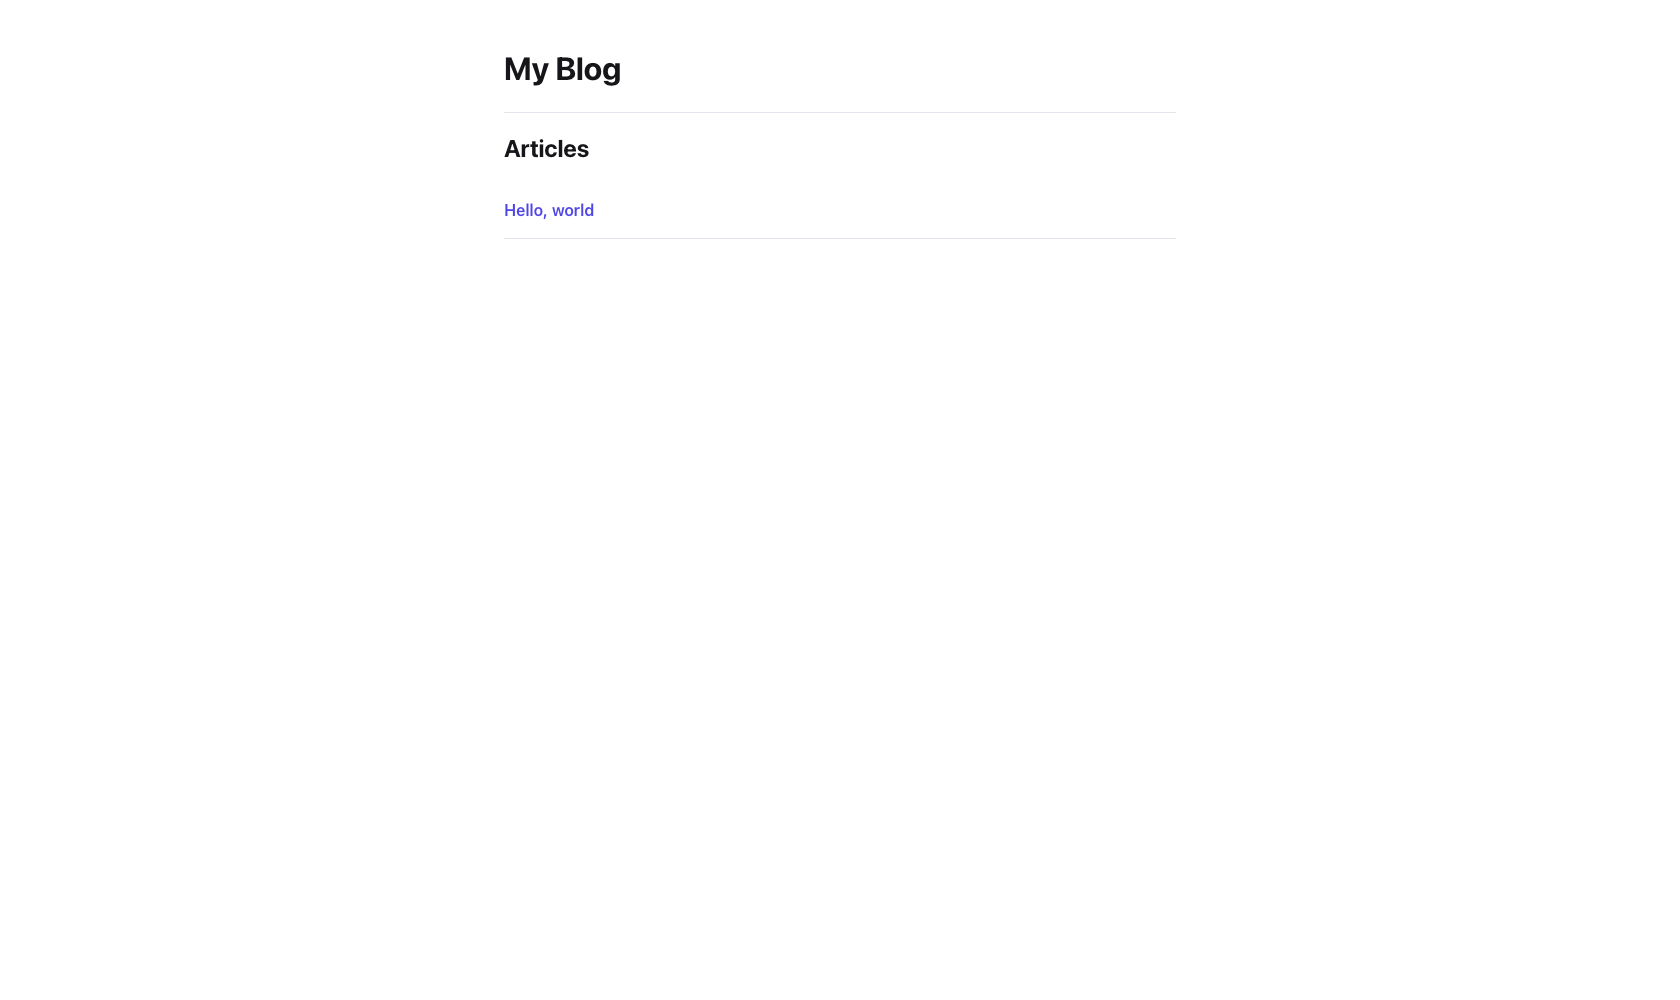
The article is listed because templates/home_page.html loops over children, which the CMS puts in the context for every page:
{% for child in children %}
    <li><a href="{{ url_prefix }}/{{ child.slug }}">{{ child.title }}</a></li>
{% endfor %}
Follow the link:
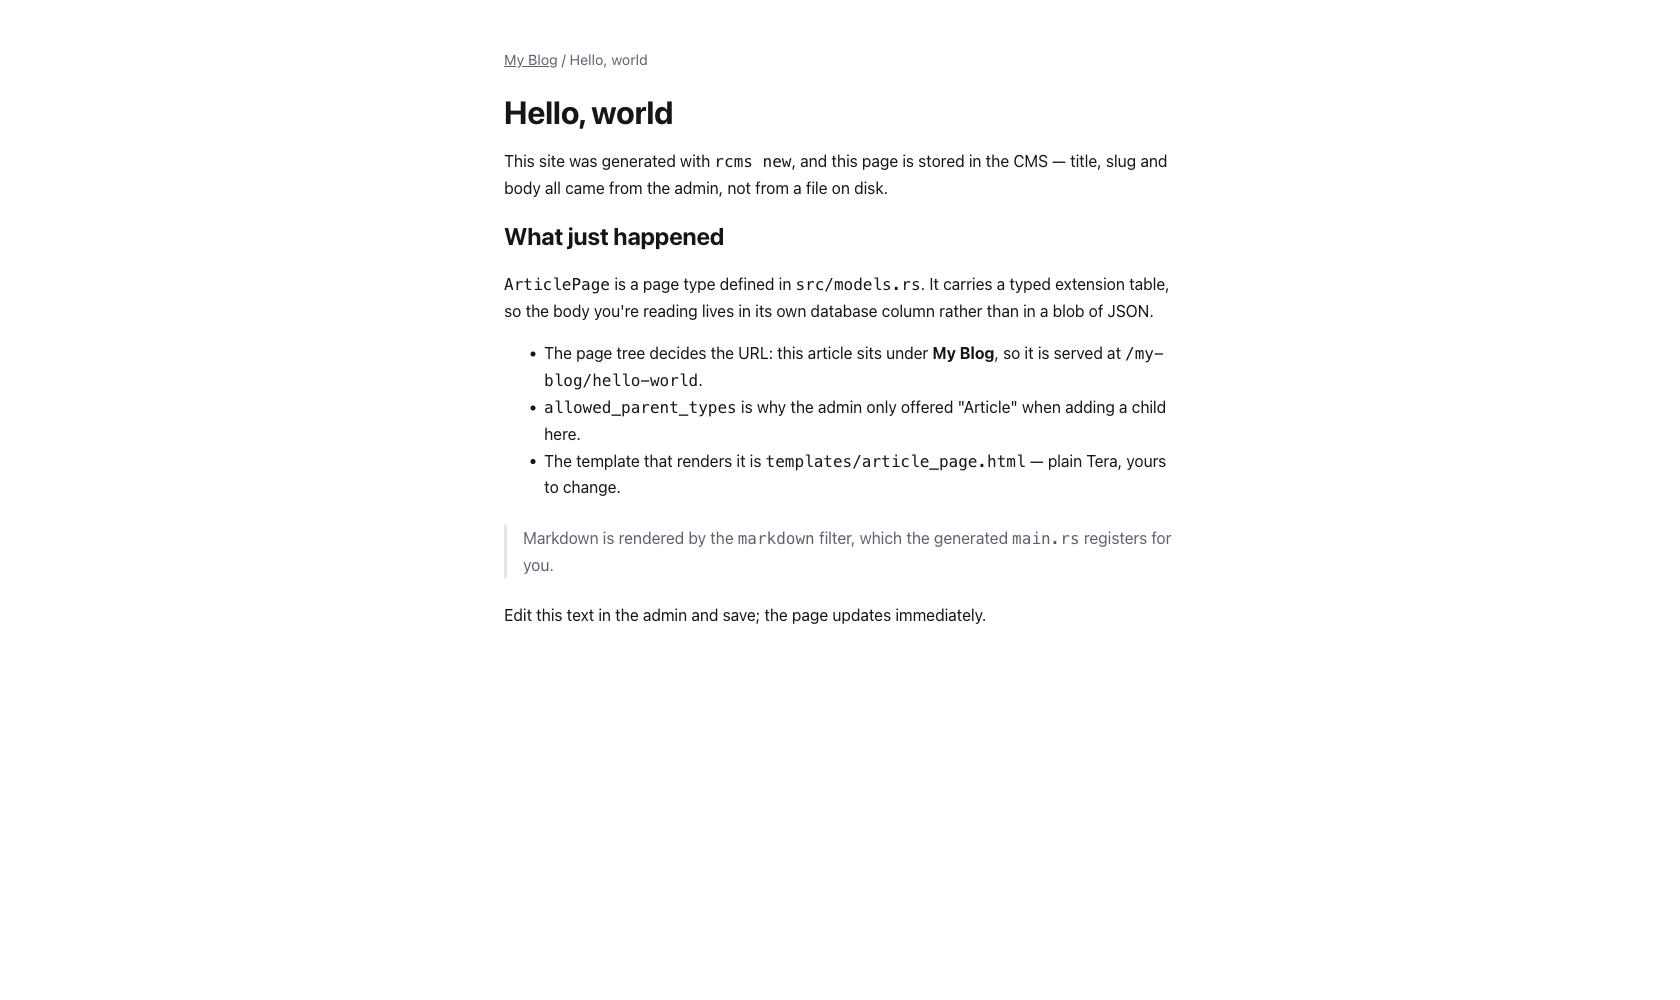
That's templates/article_page.html, and it's short enough to read in full:
<article>
    <h1>{{ page.title }}</h1>
    {% if extension.hero_media_id %}
        <img src="{{ rcms_image_url(media_id=extension.hero_media_id, filter='fill-1200x600') }}"
             alt="{{ page.title }}">
    {% endif %}
    {{ extension.body_markdown | markdown | safe }}
</article>
extension is the typed row you saw in the editor. | markdown turns it into HTML; | safe is required after it, because the filter has already sanitized its output and Tera would otherwise escape the tags and show them as text.
How it fits together
Three ideas carry most of the CMS:
The page tree is the site. Every page has a parent, and the URL is built from the slugs along the path. Moving a page in the admin moves its URL, and the children come with it.
A page type is a Rust struct plus a handler. The handler says what the type is called, which template renders it, and where in the tree it's allowed to sit. The CMS reads those answers and builds the admin around them — the type picker, the field list, the validation.
Typed fields live in their own table. Shared things — title, slug, status, publication dates — are columns on cms_page. Fields specific to one type go in a table you own, joined by page_id. Your article bodies are queryable columns, not JSON in a blob.
Everything an editor sees is generated from those three. You didn't write a form, a list view, or a URL route to get here.
Where to go next
- Change
templates/_site.css.html— it's plain CSS inlined into both page templates, with nothing else depending on it. - Add a third page type: copy the
HomePageblock insrc/models.rs, add a force-link line insrc/main.rs, and runmakemigrationsif it has typed fields. - Switch to PostgreSQL when you're ready to deploy. The generated
README.mdhas the same sequence without the SQLite-specific flags, and Run Rustango-CMS in production covers secrets, migrations, the reverse proxy, media and caching.