Your shop's name and colours
Goal: type your shop's name, tagline, colours and footer text in one place. Every page of the shop uses them.
Who this is for: shop owners and editors. You do not need any technical knowledge.
Time: about 5 minutes.
This is chapter 1 of Build a ceramics shop, step by step.
Before you start
- You can sign in to the admin. See How to find your way around the admin.
- You can see Site settings at the bottom of the menu on the left. If you cannot see it, ask the person who manages your site.
Words you will see
| Word | What it means |
|---|---|
| Site setting | Information that is the same on every page, for example the shop name or the footer text. You type it once. |
| Scope | The name of one group of settings. The shop's group is called brand. |
| Accent colour | The colour for prices, links and buttons. |
Steps
1. Open the site settings
In the menu on the left, click Site settings (at the bottom).
You see a list with the row brand. It says Not configured yet.
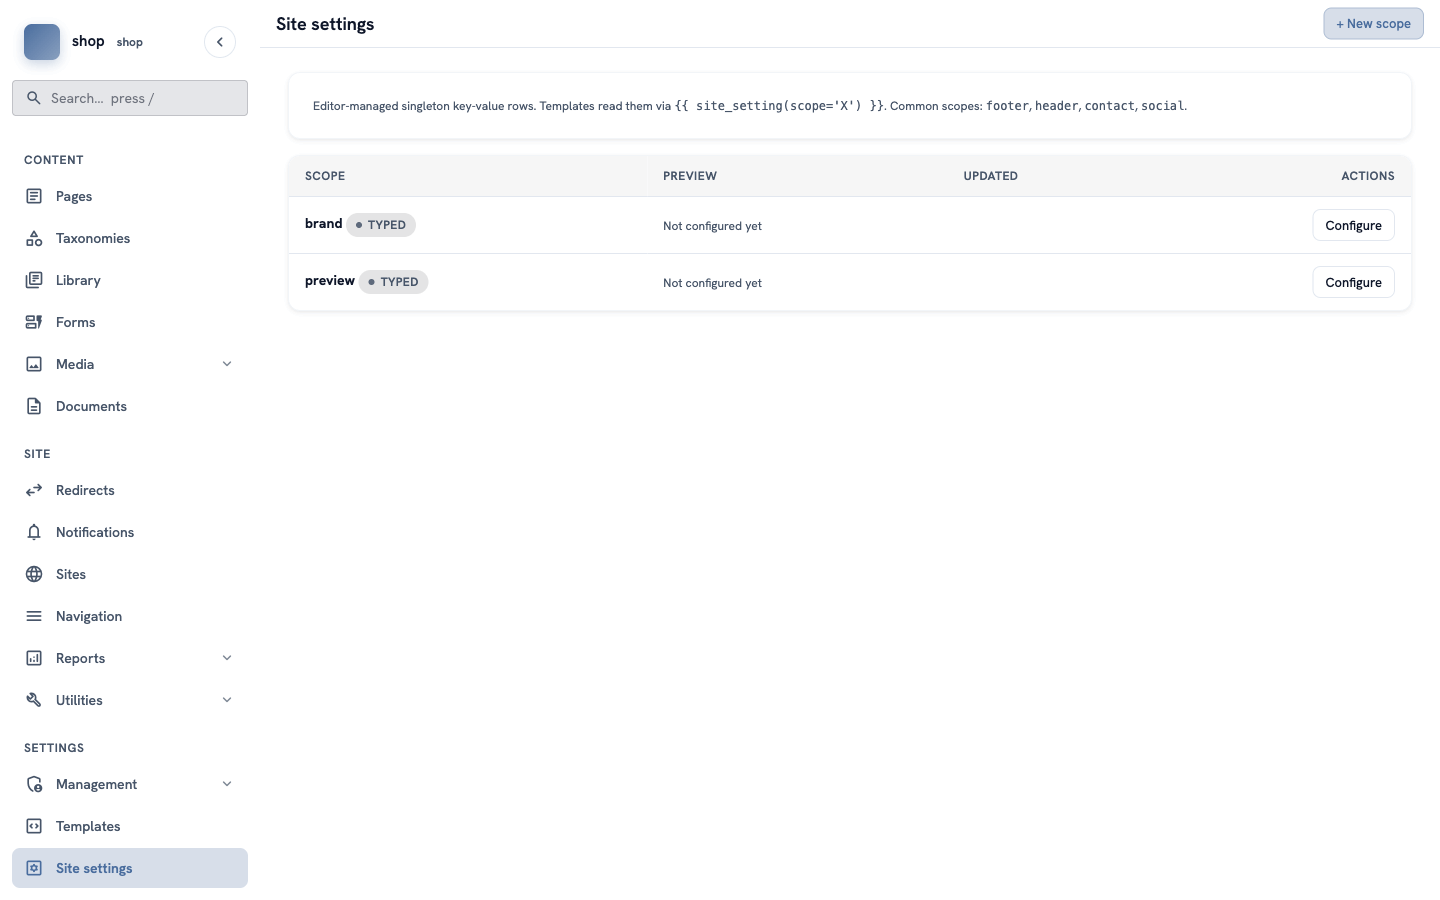
In the brand row, click Configure.
Where does "brand" come from? A developer prepared this group and chose its boxes. You only fill them in. You do not need + New scope.
2. Fill in the boxes
Type your shop's information. For the example shop:
| Box | What to type |
|---|---|
| Shop name | Clay & Kiln |
| Tagline | Handmade ceramics from a small studio |
| Accent colour | Click the colour square and choose a warm brown, for example #9c5431. |
| Background colour | Click the colour square and choose a soft cream, for example #faf6f0. |
| Footer text | Every piece is thrown, glazed and fired by hand in our studio. Orders ship within a week. |
The Scope box is grey. You cannot change it.
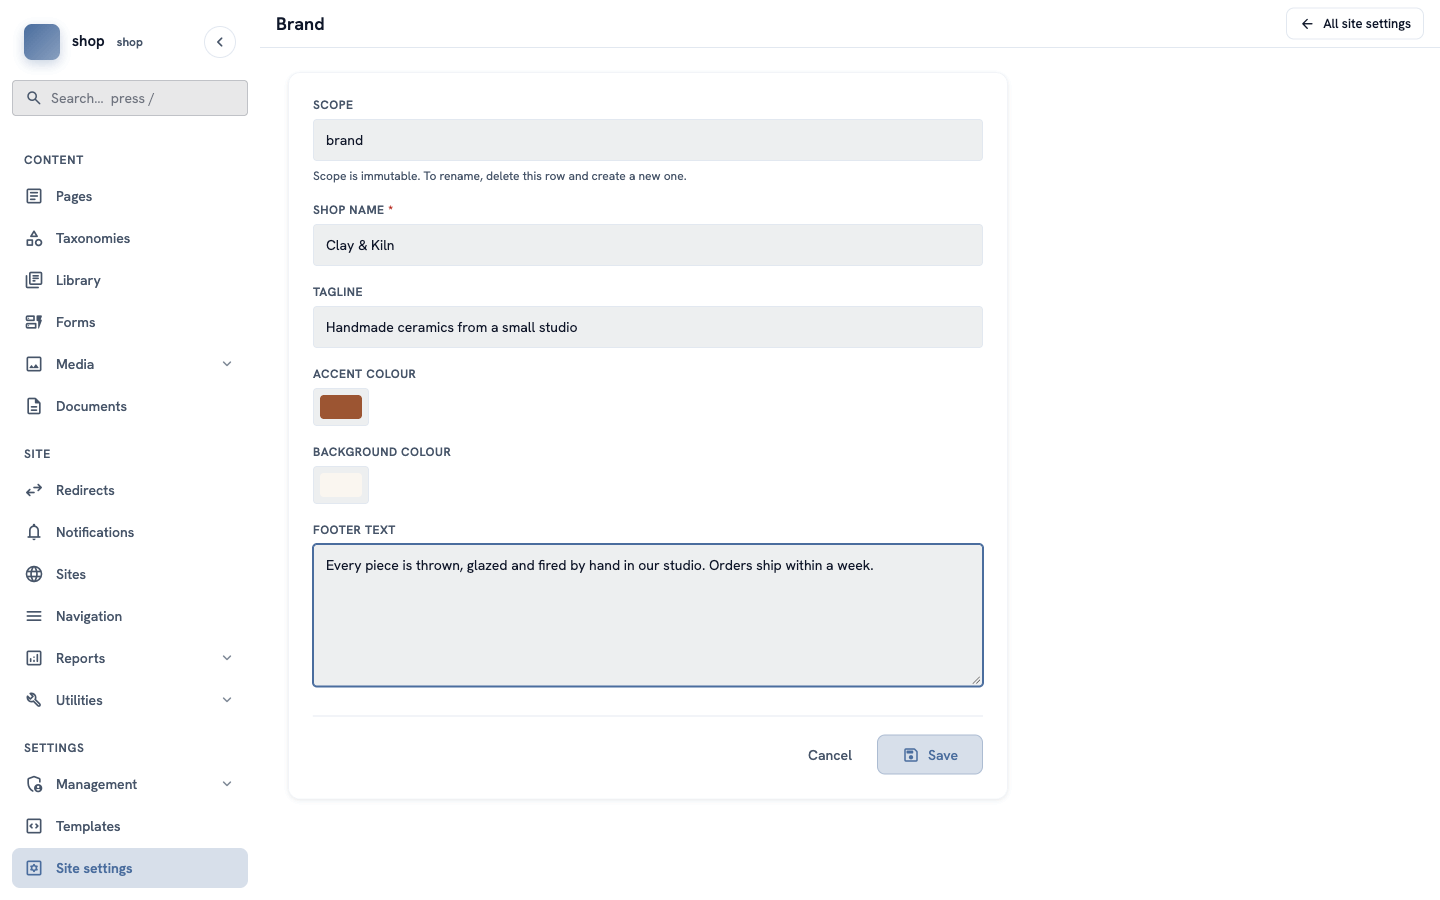
Tip: only Shop name is required (it has a red star). You can leave the other boxes empty and fill them in later.
3. Save
Click Save at the bottom.
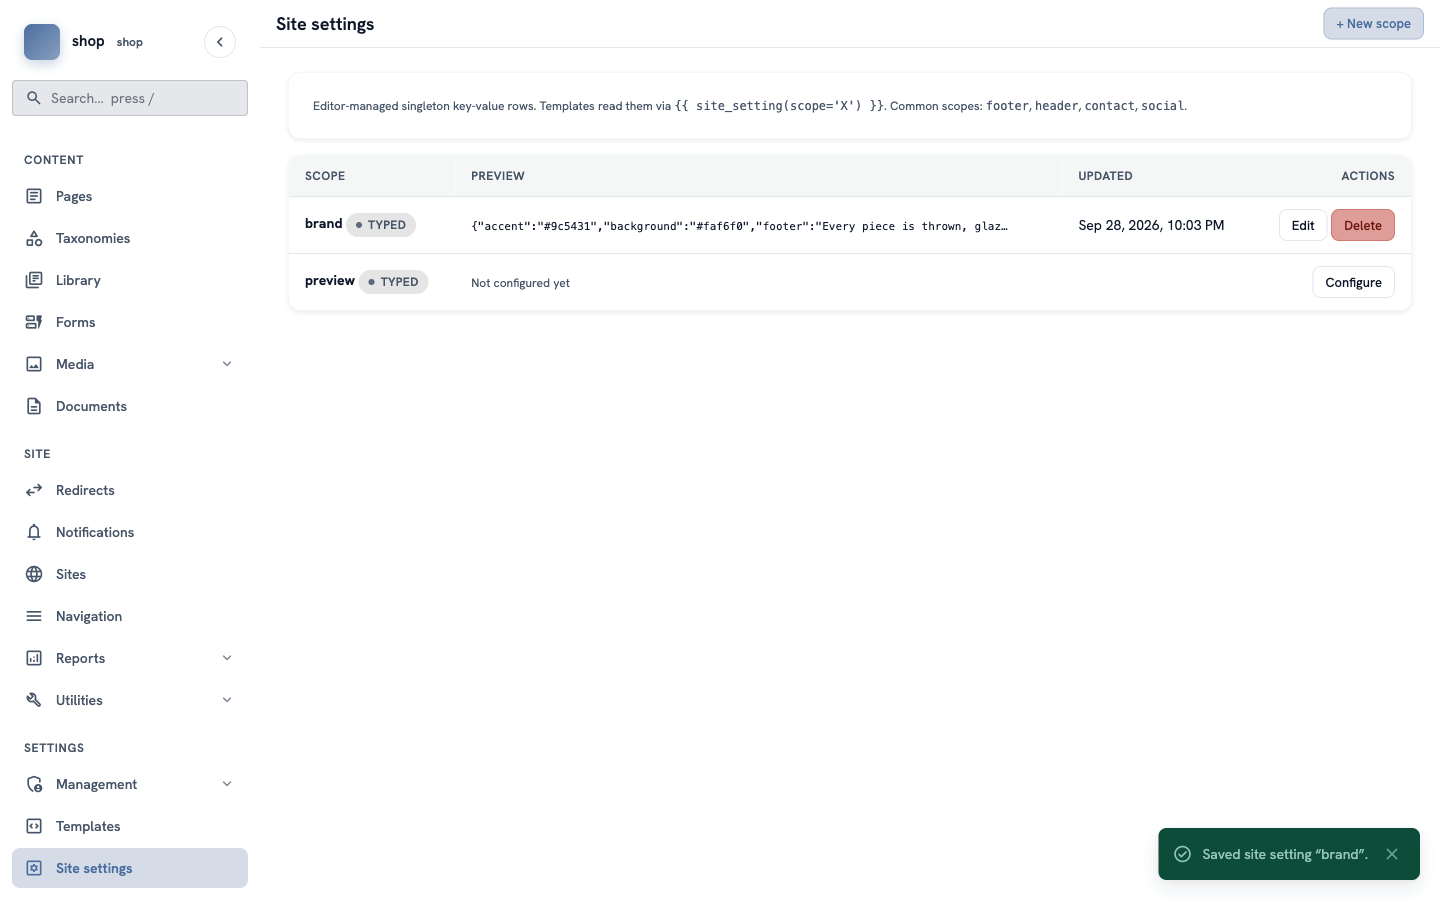
You go back to the list. A green message says Saved site setting "brand". The brand row now shows your values and the date.
Check it worked
Your shop has no pages yet, so you cannot see the name on the site now. You will see it in the next chapters: the name is at the top left of every page, and the footer text is at the bottom.
To change something later, click Edit in the brand row. The change is on every page at once.
If something goes wrong
| Problem | What to do |
|---|---|
| There is no brand row. | Your site does not have this group yet. Ask a developer. The developer part of this guide explains it: The helper traits. |
| Save does not work, or you see "These required fields are empty". | The shop name is empty. Type a name and save again. |
| You clicked Delete by mistake. | The values are gone, but the brand row comes back with Configure. Fill in the boxes again. |