Build a ceramics shop, step by step
Goal: see what you will build in this guide, and in what order.
Who this is for: shop owners and editors. You do not need any technical knowledge. There is one short part for developers at the end.
Time: about 5 minutes to read.
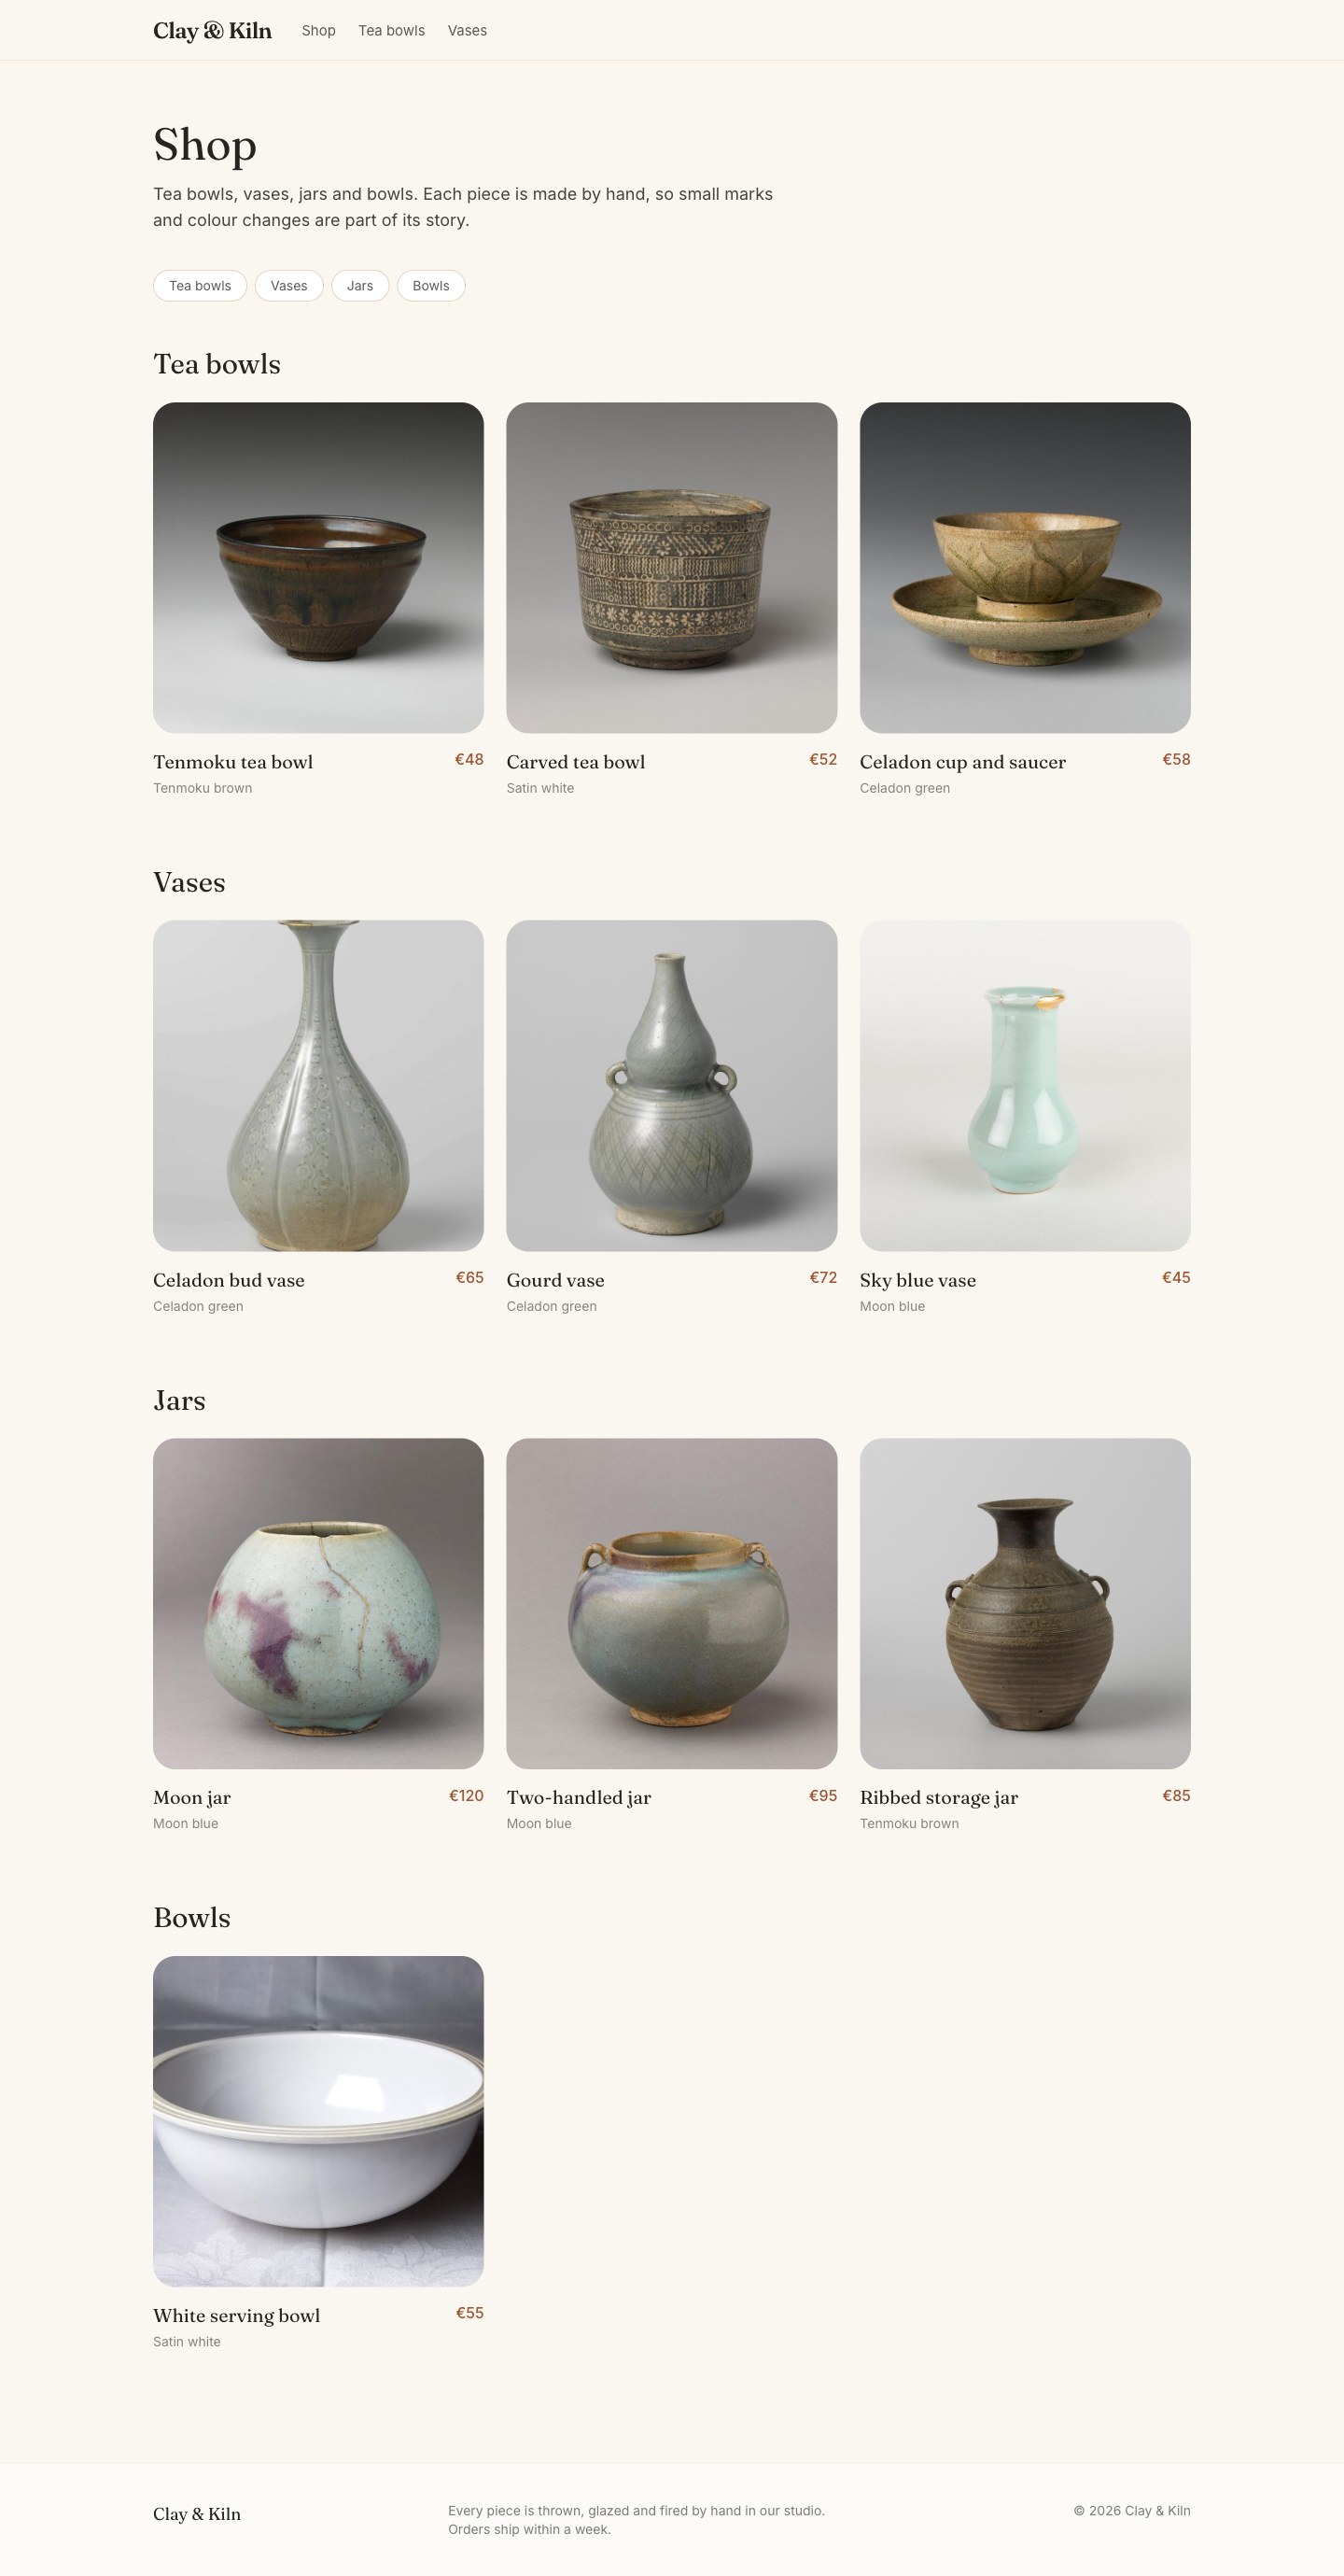
The story
Clay & Kiln is a small pottery studio. Two potters make tea bowls, vases, jars and bowls by hand. They want a website where people can:
- see every piece with a photo, a price and a short text,
- find pieces by group (tea bowls, vases…),
- order a piece with a simple form.
In this guide you build that website yourself, in the admin, one step at a time. Every step has a picture, so you can check that your screen looks the same.
What you need
- An admin account on a rustango-cms site that can create pages, page types, menus and settings. If you are not sure, ask the person who manages your site.
- The 14 example photos. You can download them from the example shop folder. You can also use your own photos.
For developers: the example site is in
examples/ceramics_shop. How to start it is written at the top of itsmain.rsfile.
The chapters
Do the chapters in this order. Each one uses what you made in the chapter before it.
Part 1 — The shop window
| # | Chapter | What you do |
|---|---|---|
| 1 | Your shop's name and colours | Type the shop name, the tagline, the colours and the footer text once. Every page uses them. |
| 2 | Add your photos | Upload all photos to the media library in one go. |
| 3 | The home page | Make the front page with a big photo, a heading and a welcome text. |
Part 2 — The products
| # | Chapter | What you do |
|---|---|---|
| 4 | Make a "Product" page type | Decide which boxes every product has: price, glaze, photo, description. No code. |
| 5 | Groups of products: categories | Make the groups Tea bowls, Vases, Jars and Bowls. |
| 6 | The shop page | Make the page that shows all products. |
| 7 | Add your products | Add ten products and put each one in a group. |
Part 3 — Help people find things
| # | Chapter | What you do |
|---|---|---|
| 8 | The main menu | Build the menu at the top of every page: add pages and your own links, change the order, put items inside other items. |
Part 4 — Content everywhere, and orders
| # | Chapter | What you do |
|---|---|---|
| 9 | Reusable text | Write the shipping information once in the Library, show it on an "About us" page and on every product, and change it in one place. |
| 10 | The order form | Build an order form, put it on the product pages, get each order by email and read the orders in the admin. |
Part 5 — Grow
| # | Chapter | What you do |
|---|---|---|
| 11 | Be found on Google | Write SEO titles and descriptions, check the sitemap, rename a page without breaking links, and add your own redirects. |
| 12 | A second language | Add French, then translate the pages, the menu, the shipping text and the order form. |
| 13 | A members area | Show trade prices only to cafés and shops: a role, a private page, sign-up, a friendly "not yet" page and a menu item only members see. |
| 14 | Work as a team | Add a helper, check each new product before it goes live, send it back with a note, and review changes to live products. |
| 15 | A sale | Prepare a sale page now; the site publishes it at a set time and takes it down again a week later. |
| 16 | Let an AI agent help | Give an AI assistant a key that can only write drafts, let it add a product, then check and publish it yourself. |
For developers
| Chapter | What you learn |
|---|---|
| Show menus and settings in templates | The template helpers menu(), auto_menu() and site_setting(), as the shop uses them. |
| The helper traits | How the shop's code-made parts work: #[derive(PageType)], PageTypeOverrides, LibraryTypeHandler, TaxonomyHandler and register_site_setting!. |
| A headless storefront | Show the shop on a second website in plain JavaScript: pages, photos, blocks and the menu from the JSON API. |
| Preview drafts on your own frontend | Let editors see a draft in that website, inside the editor and in a new tab, with a preview token. |
Next
Start with chapter 1: Your shop's name and colours.